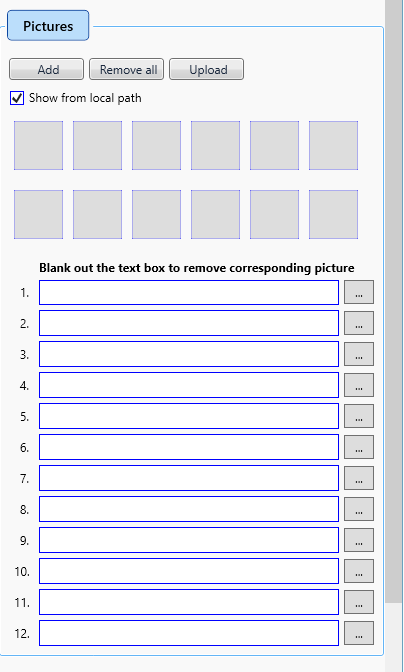
You can add pictures to your item from this section. This is how it looks:
Button
Explanation
Add
Clicking Add button opens up file explorer using which you can select one/more pictures from your computer or from shared folders from other computers on your network. You can also simply click on an unused picture box (the 12 rectangular boxes) to Add pictures. The full path of the pictures is displayed in the text boxes numbered 1 through 12. A maximum of 12 pictures can be added.
Remove all
Removes all pictures added so far
Upload
Uploads the added pictures to your picture hosting service (eBay, Google Drive or Cloudinary.com).
Once a picture is successfully uploaded, the full URL (Called Uploaded Path) is retrieved from the hosting service which is an http or https type URL.
Checkbox "Show from Local Path":
When checked, displays the path (of pictures added) from your local computer / shared folders.
When unchecked, displays the Uploaded Path instead (provided the pictures have been uploaded).
Thus, as you can see, for each picture, there are 2 paths associated with it called Local Path and Uploaded Path.
Listings imported from eBay into Wonder Lister:
When a listing is Imported from eBay, since eBay does not have the Local Path info from where you may have uploaded the picture to eBay previously, thus, eBay only returns the http(s) URL (that is the Uploaded Path). In such cases, Wonder Lister sets the Local Path same as Uploaded Path meaning both Local Path and Uploaded Path are exactly the same. However, you can set a preference in Wonder Lister so that when Wonder Lister imports a listing from eBay or when a listing is refreshed from eBay, Wonder Lister can fetch the associated pictures and save them on your designated directory. In such cases, the Local Path is set to where ever Wonder Lister saved your pictures.