Once you have complete the
Download process, you can begin to install Wonder Lister.
Begin installation by opening the downloaded WLSetup.exe file
Opening the file will start the installation process.
If a security warning appears, click Yes to continue installation
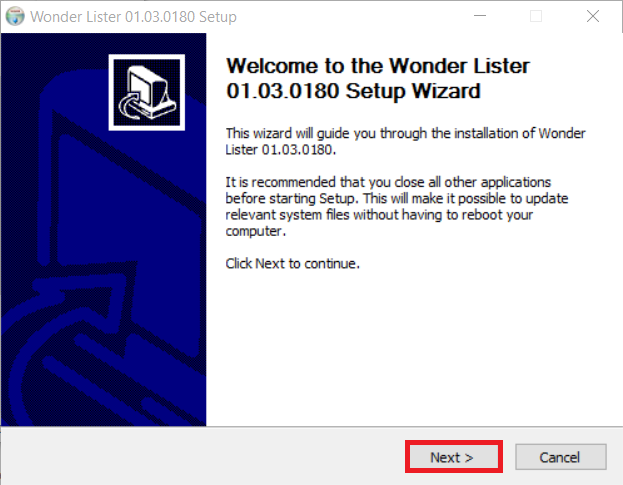
Step 1:
Click Next to begin installation.
Step 2:
Click I Agree to accept the License Agreement.
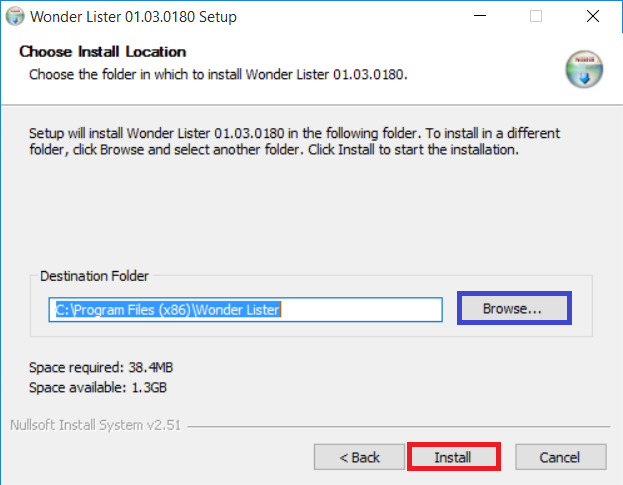
Step 3:
It is recommended to keep the default install location. This is where the Wonder Lister application will be installed and all the settings will be kept.
If you would like to change the install location, click Browse to select a different location.
Click Install to continue.
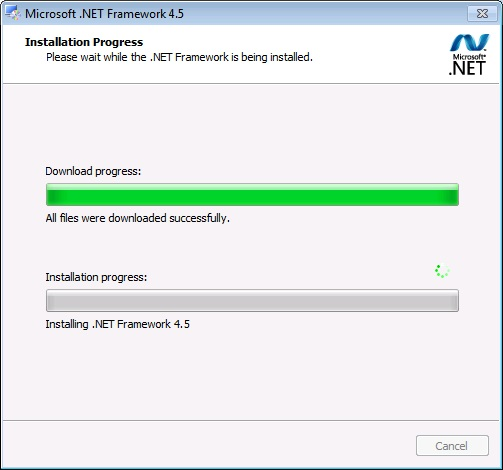
Step 4:
NOTE: If Wonder Lister detects that your computer is missing Microsoft's .NET Framework, it will automatically begin installation.
If your computer already has the framework, the installation process will skip to Step 5.
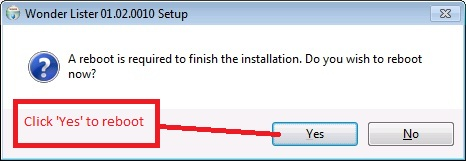
Once the installation is complete, you may be required to restart your computer.
After rebooting, click the Wonder Lister desktop icon to continue Wonder Lister installation.
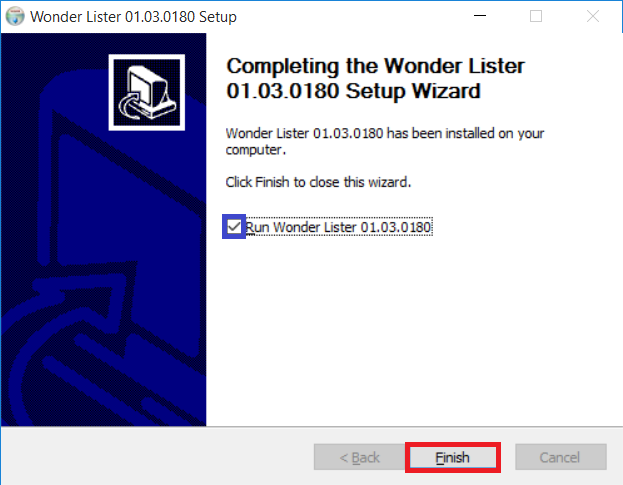
Step 5:
Click Finish to complete the installation process.
If you do not want to launch Wonder Lister, unselect the Run Wonder Lister option.
You may open Wonder Lister application any time from the desktop icon or from your programs under the Start menu.
Congratulations you have just successfully installed Wonder Lister!
If Wonder Lister was already installed prior to this installation, then, this installation simply upgrades your existing Wonder Lister application. In this case, no additional setup is required.
If this was your very first computer on which you just installed Wonder Lister application, then, Continue to
Setting up Wonder Lister on first computer documentation to complete the one-time setup for Wonder Lister.