NOTE: This documentation details the steps after you have chosen the first option in Step 3 of the Initial Setup.
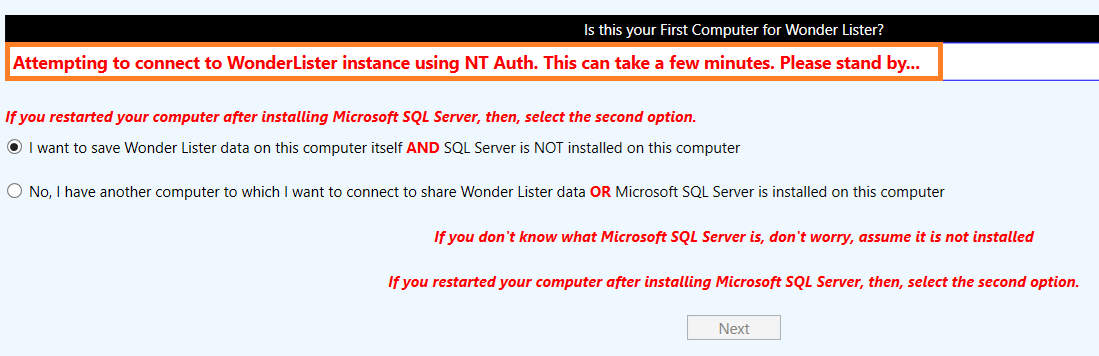
Step 1:
Choose the first option and Wonder Lister will begin to install Microsoft SQL Server.
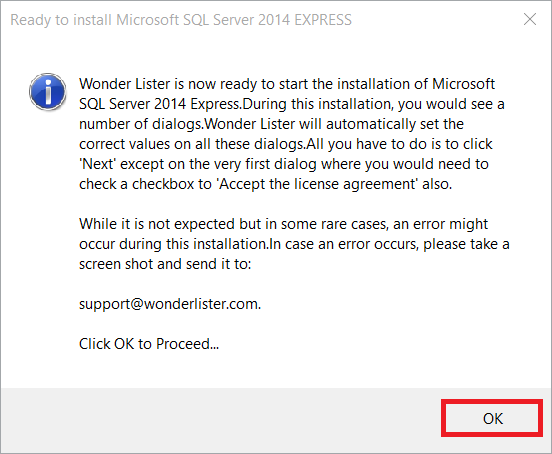
Step 2:
Microsoft SQL Server will begin downloading. This may take a few minutes.
Step 3:
Click Ok to continue
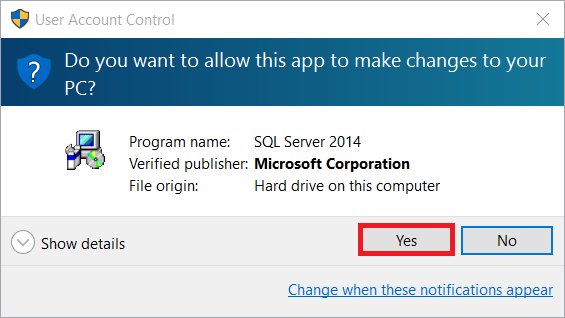
Step 4:
If you receive a security warning, click Yes to continue
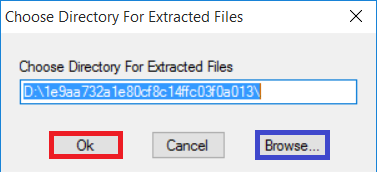
Step 5:
If you would like to change the location where Microsoft SQL Server is installed, click Browse
To continue with a default install, click Ok to continue
Step 6:
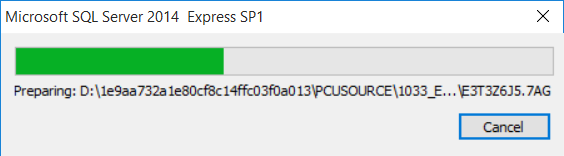
SQL Server will begin installing.
NOTE: Do not click Cancel. This will stop the installation process and you will need to restart the entire process
Step 7:
Let the SQL Server installation process continue, you may see a series of installation screens.
Step 8:
Accept the license terms and optionally Turn on Customer Experience Improvement Program
Click Next to continue
Step 9:
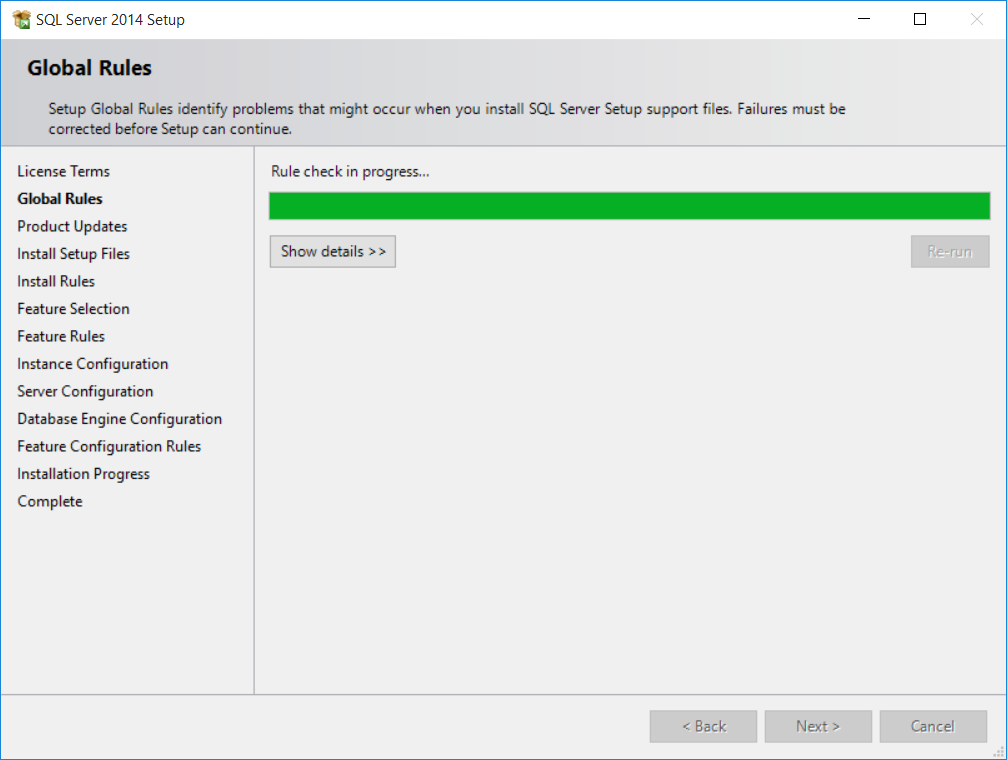
Microsoft SQL Server will go through a few installation screens to complete the installation process.
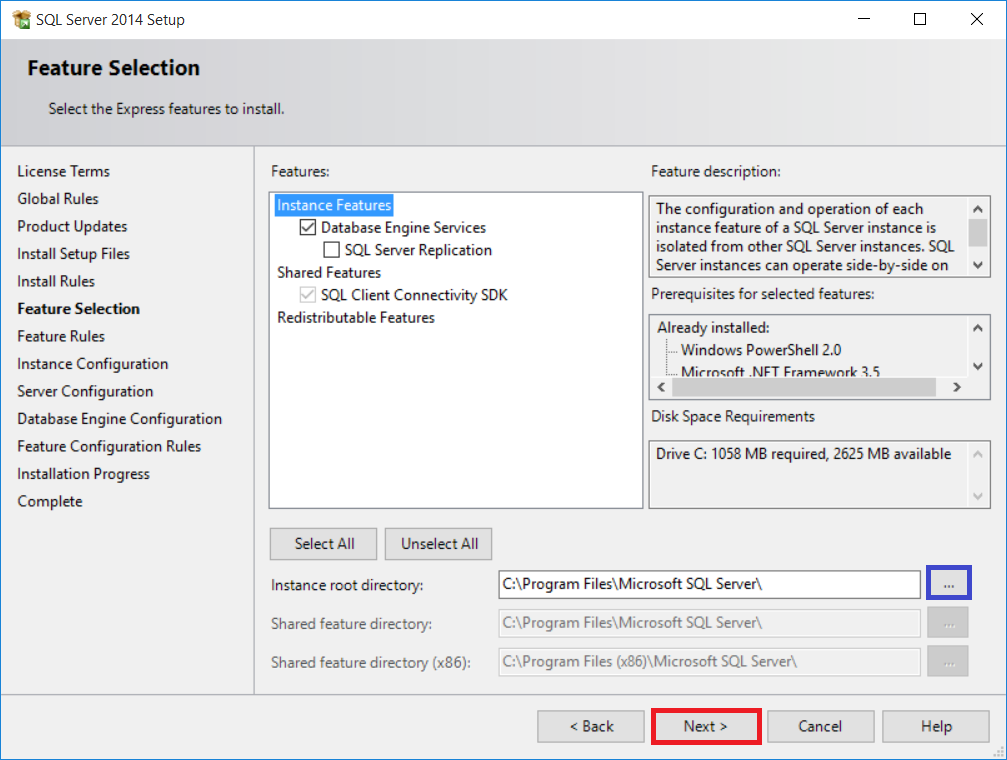
Step 10:
To change the instance root directory, click ...
To proceed with a default install, click Next
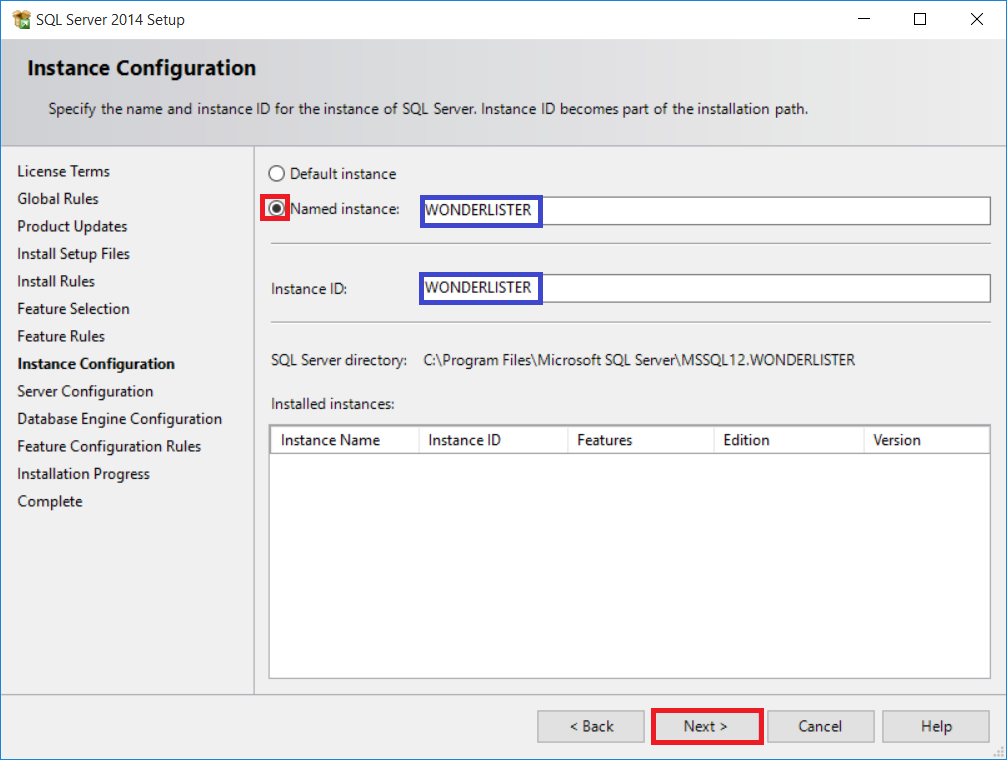
Step 11:
Select Named Instance
Choose a name for the Named instance and Instance ID.
TIP: General practice is to have the same Named Instance and Instance ID.
Click Next to continue
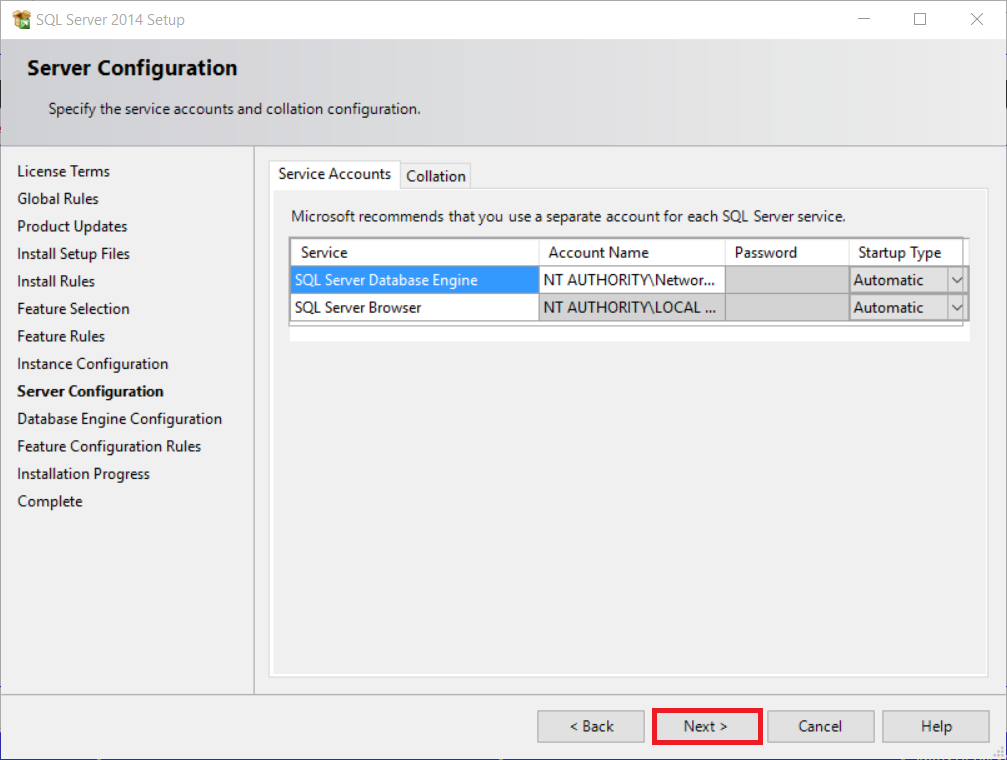
Step 12:
Click Next to continue
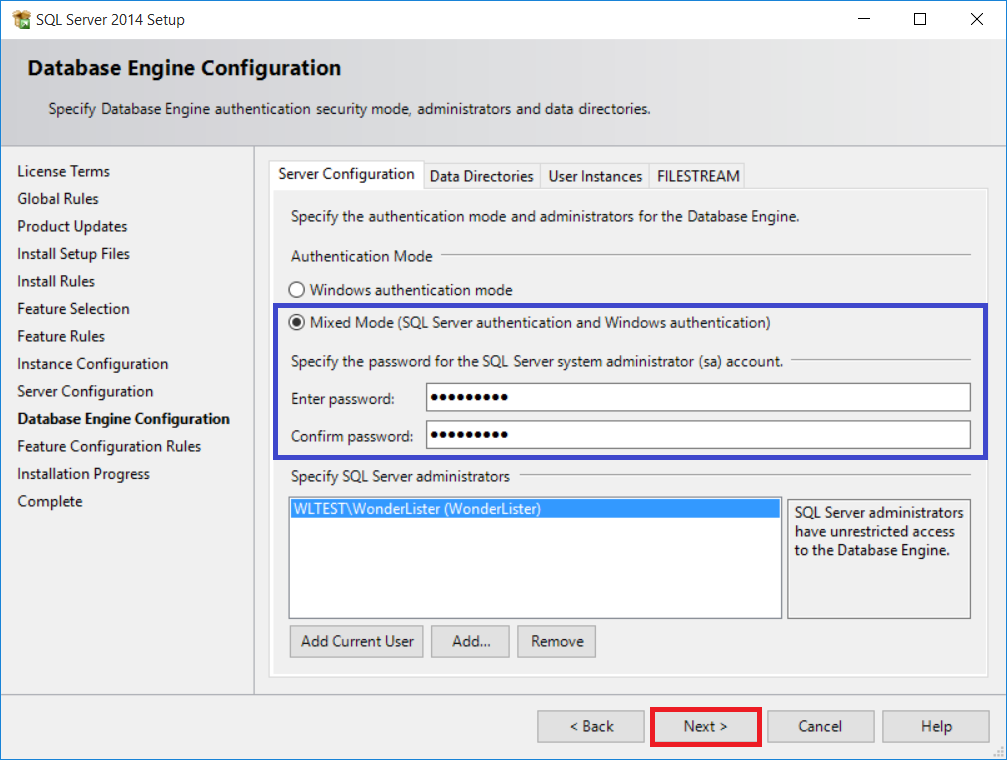
Step 13:
The default password will be the Microsoft User Account password, you may change it to something else if you like.
Click Next to continue
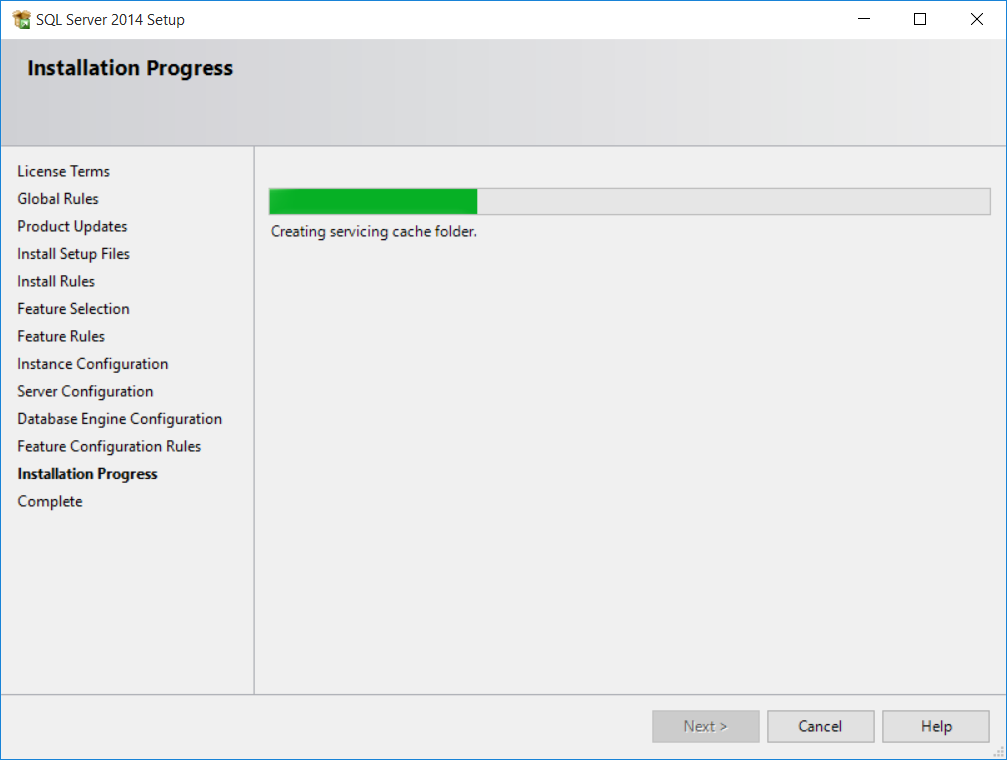
Step 14:
Microsoft SQL Server will continue installing. Do not cancel the installation process.
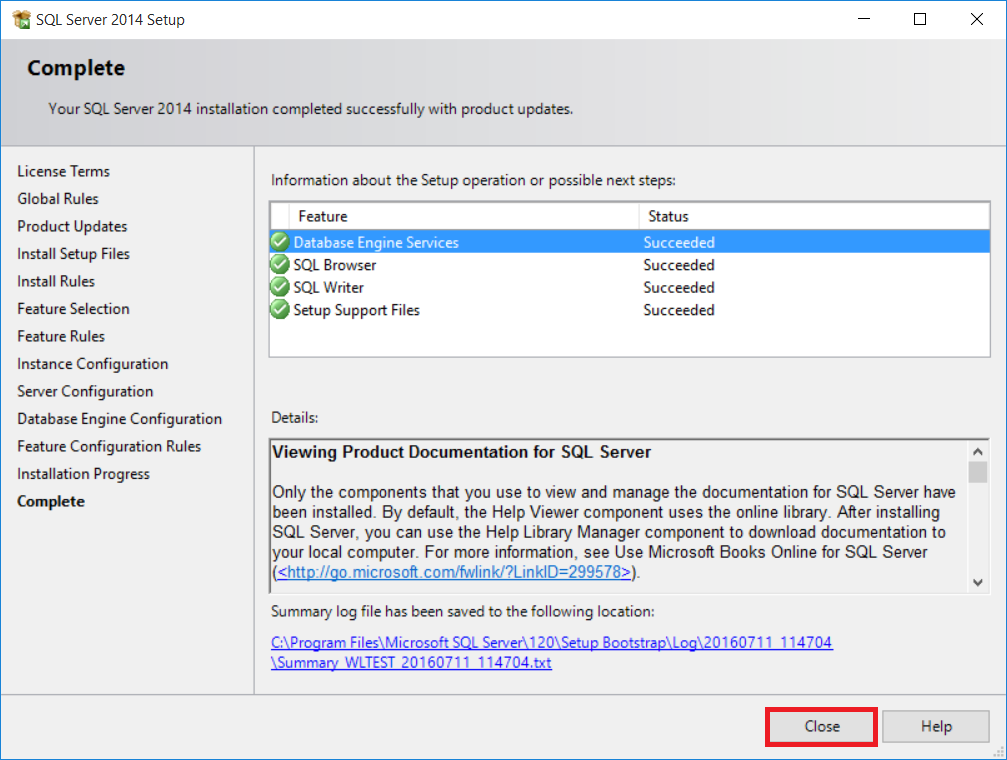
Step 15:
Once the installation process is complete, click Close
You have successfully downloaded, installed and created a new local Microsoft SQL database.