
← All WonderLister user guides
Manage Pictures is where you add, remove and reorder the pictures on a listing without
opening the whole editor. The order matters: the first picture is the one eBay shows in search results.
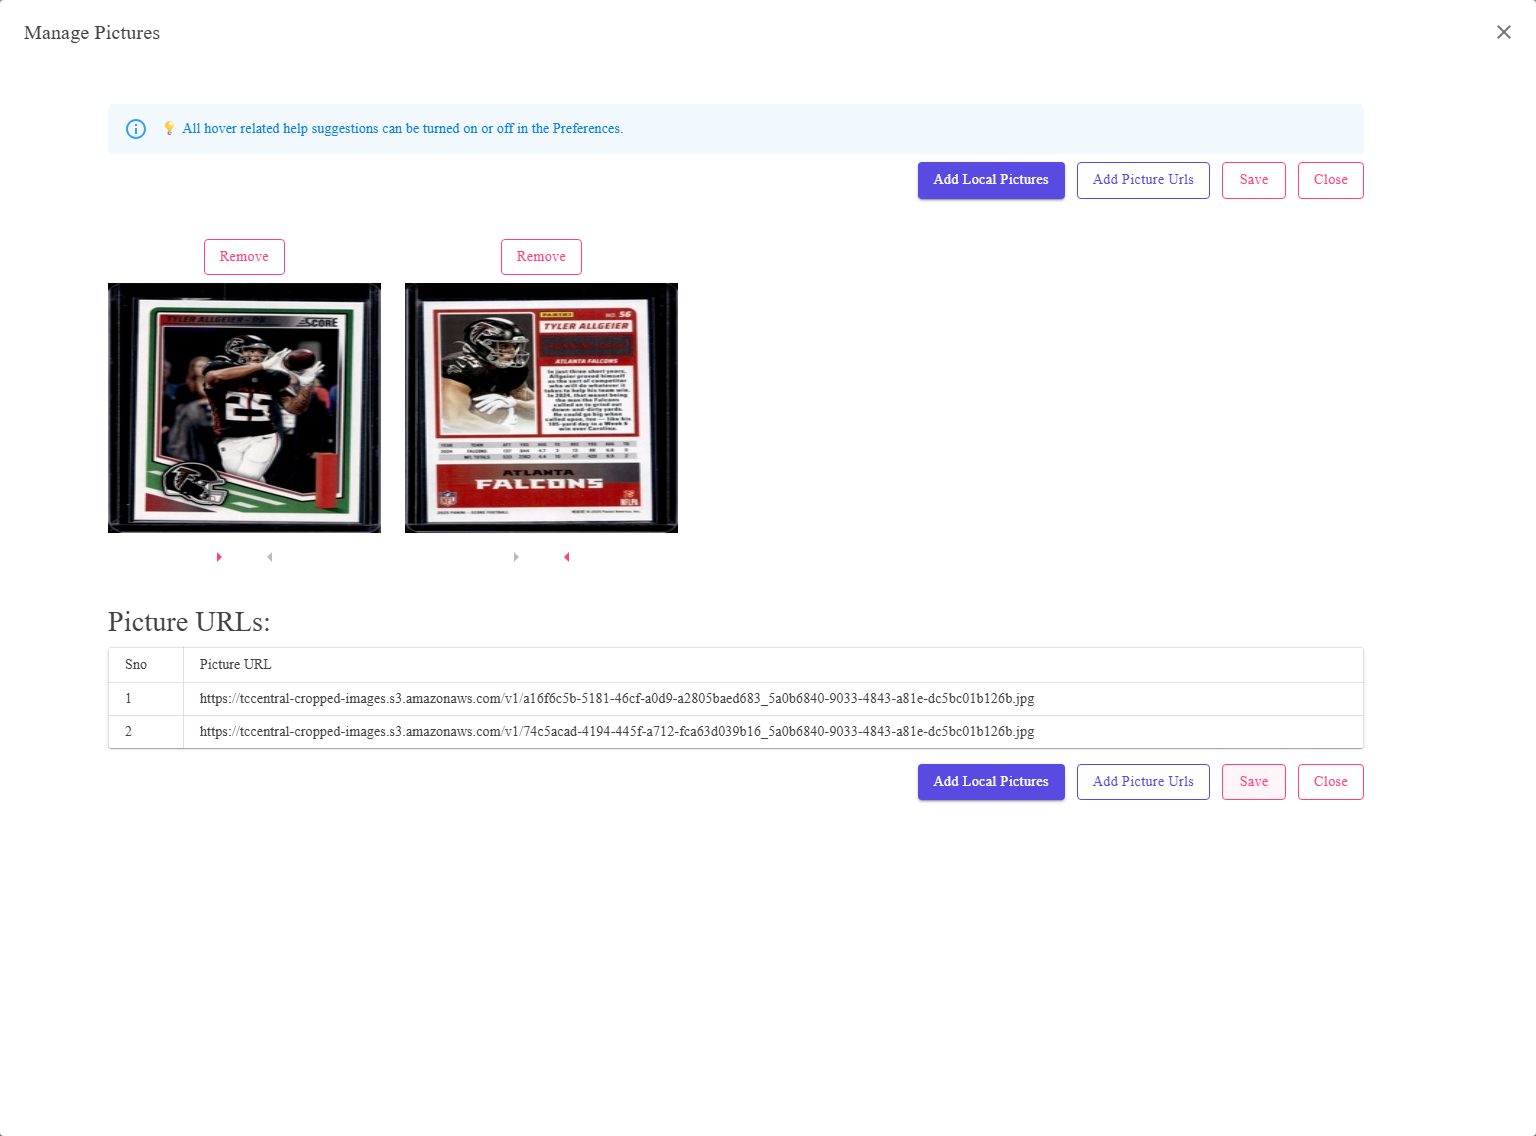
Each picture carries its own Remove button above it and its two move arrows below.
Where to find it
- Go to Listings (or Listing Templates).
- Select exactly one row.
- Choose Manage Pictures from the row’s actions, or press Alt + P.
With nothing selected it says Please select a listing; with more than one, Please select only
one listing. It works on one listing at a time.
What is on screen
| Control | What it does |
|---|---|
| Add Local Pictures | Opens the upload dialog for files on this machine. |
| Add Picture Urls | Opens Add Picture URLs, for pictures already hosted somewhere. |
| Save | Writes the pictures and the order back to the listing, then closes. |
| Close | Closes without saving. |
| Remove | Above each picture. Takes that picture off the listing. |
| ◀ and ▶ | Below each picture — Move Left and Move Right. The arrow is greyed out at the end it cannot move towards. |
The same four buttons appear above and below the pictures, so a long strip of them does not put the toolbar
out of reach. Underneath everything, the picture urls are listed as text.
Nothing is written until you press Save. Removing, reordering and even uploading only
change what is on screen; Close abandons the lot. The exception is the upload itself —
an uploaded file has already been sent to storage, it simply is not on the listing until you save.
change what is on screen; Close abandons the lot. The exception is the upload itself —
an uploaded file has already been sent to storage, it simply is not on the listing until you save.
How to reorder pictures
- Find the picture that should come first.
- Click its ◀ until it is at the left-hand end. The arrow greys out when it gets there.
- Position the rest the same way.
- Click Save. The message reads Saving. Please stand by… and then Successfully saved.
How to add pictures
- Click Add Local Pictures and choose the files, or Add Picture Urls and paste addresses.
- The new pictures appear at the end of the strip.
- Move them into place with the arrows.
- Click Save.
A picture that fails to upload is named. The dialog reports each failure with the file name
and eBay’s reason, and the ones that worked are still added. Read the message before you press Save.
and eBay’s reason, and the ones that worked are still added. Read the message before you press Save.
FAQ
Q: Which picture does eBay show first?
A: The first in this strip. That is what reordering is for.
Q: I removed the wrong picture.
A: Press Close instead of Save and nothing is written. If you
already saved, add it again.
already saved, add it again.
Q: The buttons are all greyed out.
A: An upload is in progress. They come back when it finishes.
Q: Can I do several listings at once?
A: Not here. Bulk assignment of pictures is on
Bulk Assign Pictures.
Bulk Assign Pictures.
Q: Do the pictures reach eBay when I save?
A: They are saved onto the listing. eBay is told when the listing itself is next
submitted or revised.
submitted or revised.
Support
For further assistance you can:
- Email [email protected]
- Use the Contact Us page inside the application
← Back to the User Guide index
Or go to Support, the FAQs, or contact us.