How do I customize my invoices?
Wonder Lister provides a default invoice template which you can copy and make edits as per your requirements. Follow these steps:
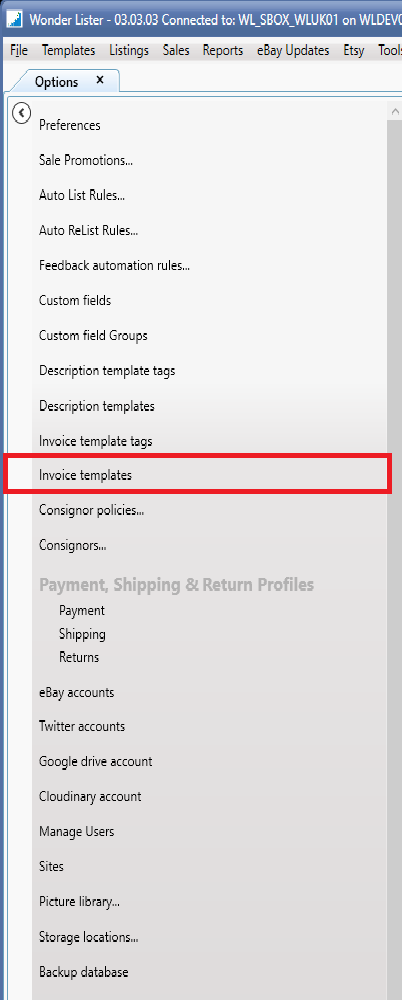
Click on the menu option:
Tools > Options > Invoice Templates
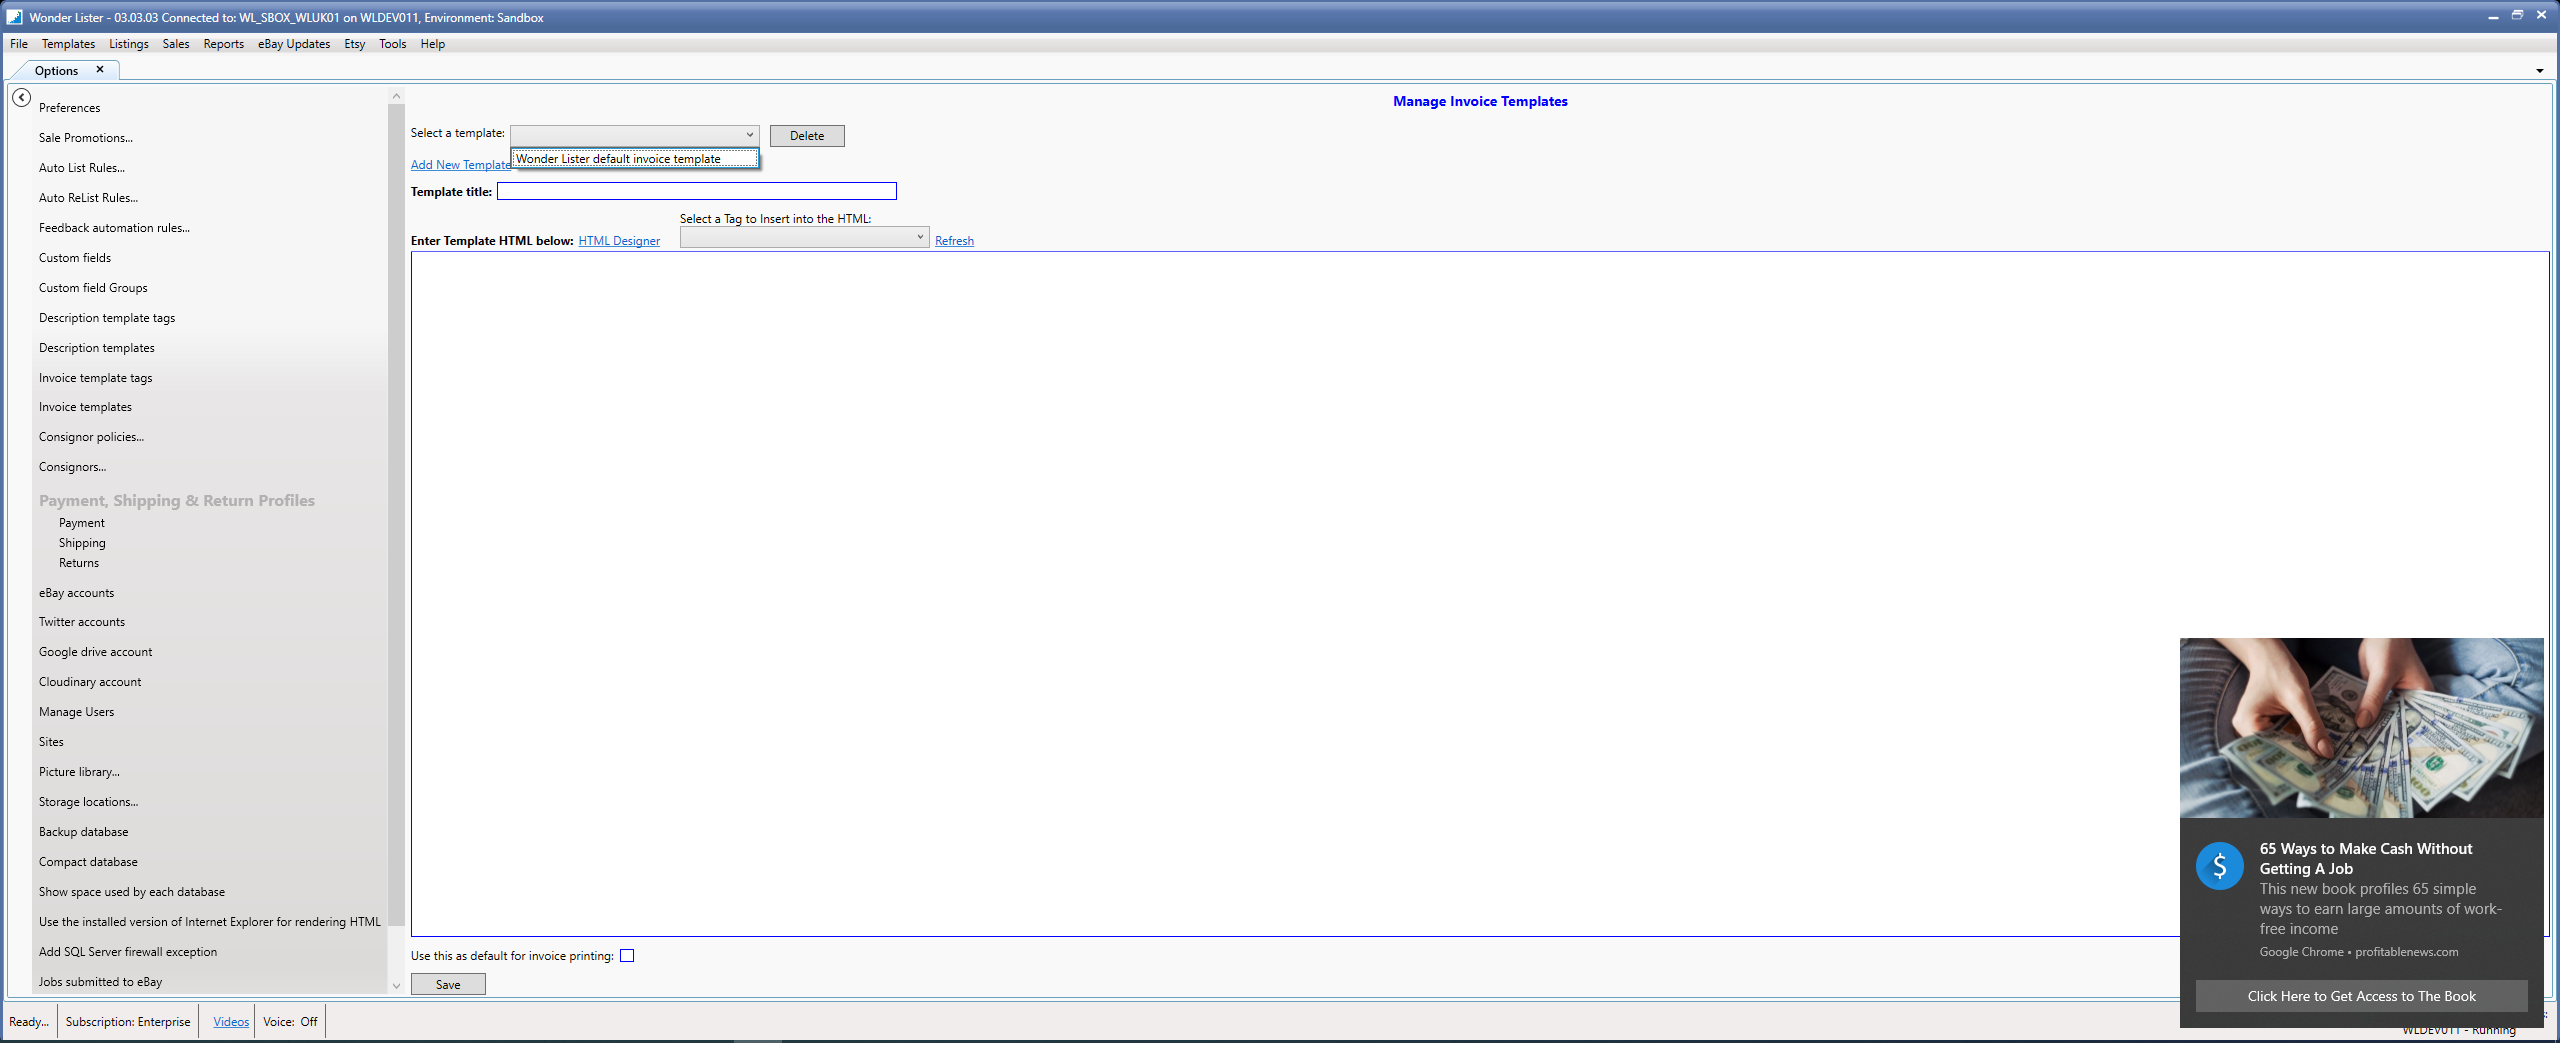
A new view will open on the right hand side
From the dropdown "Select a template", select "Wonder Lister default invoice template". The HTML of the template will be displayed in the textbox "Enter Template HTML Below" as shown below.
Inside that textbox, click CTRL+A to select all text, then CTRL+C to copy all the text to clipboard.
Then, paste the copied HTML into any text file say in NotePad or NotePad++, save the file as an .html file say as "DefaultInvoiceTemplate.html". Make sure to remember the directory in which you are saving the file.
Now, open the saved DefaultInvoiceTemplate.html file in your browser simply by double clicking on it.
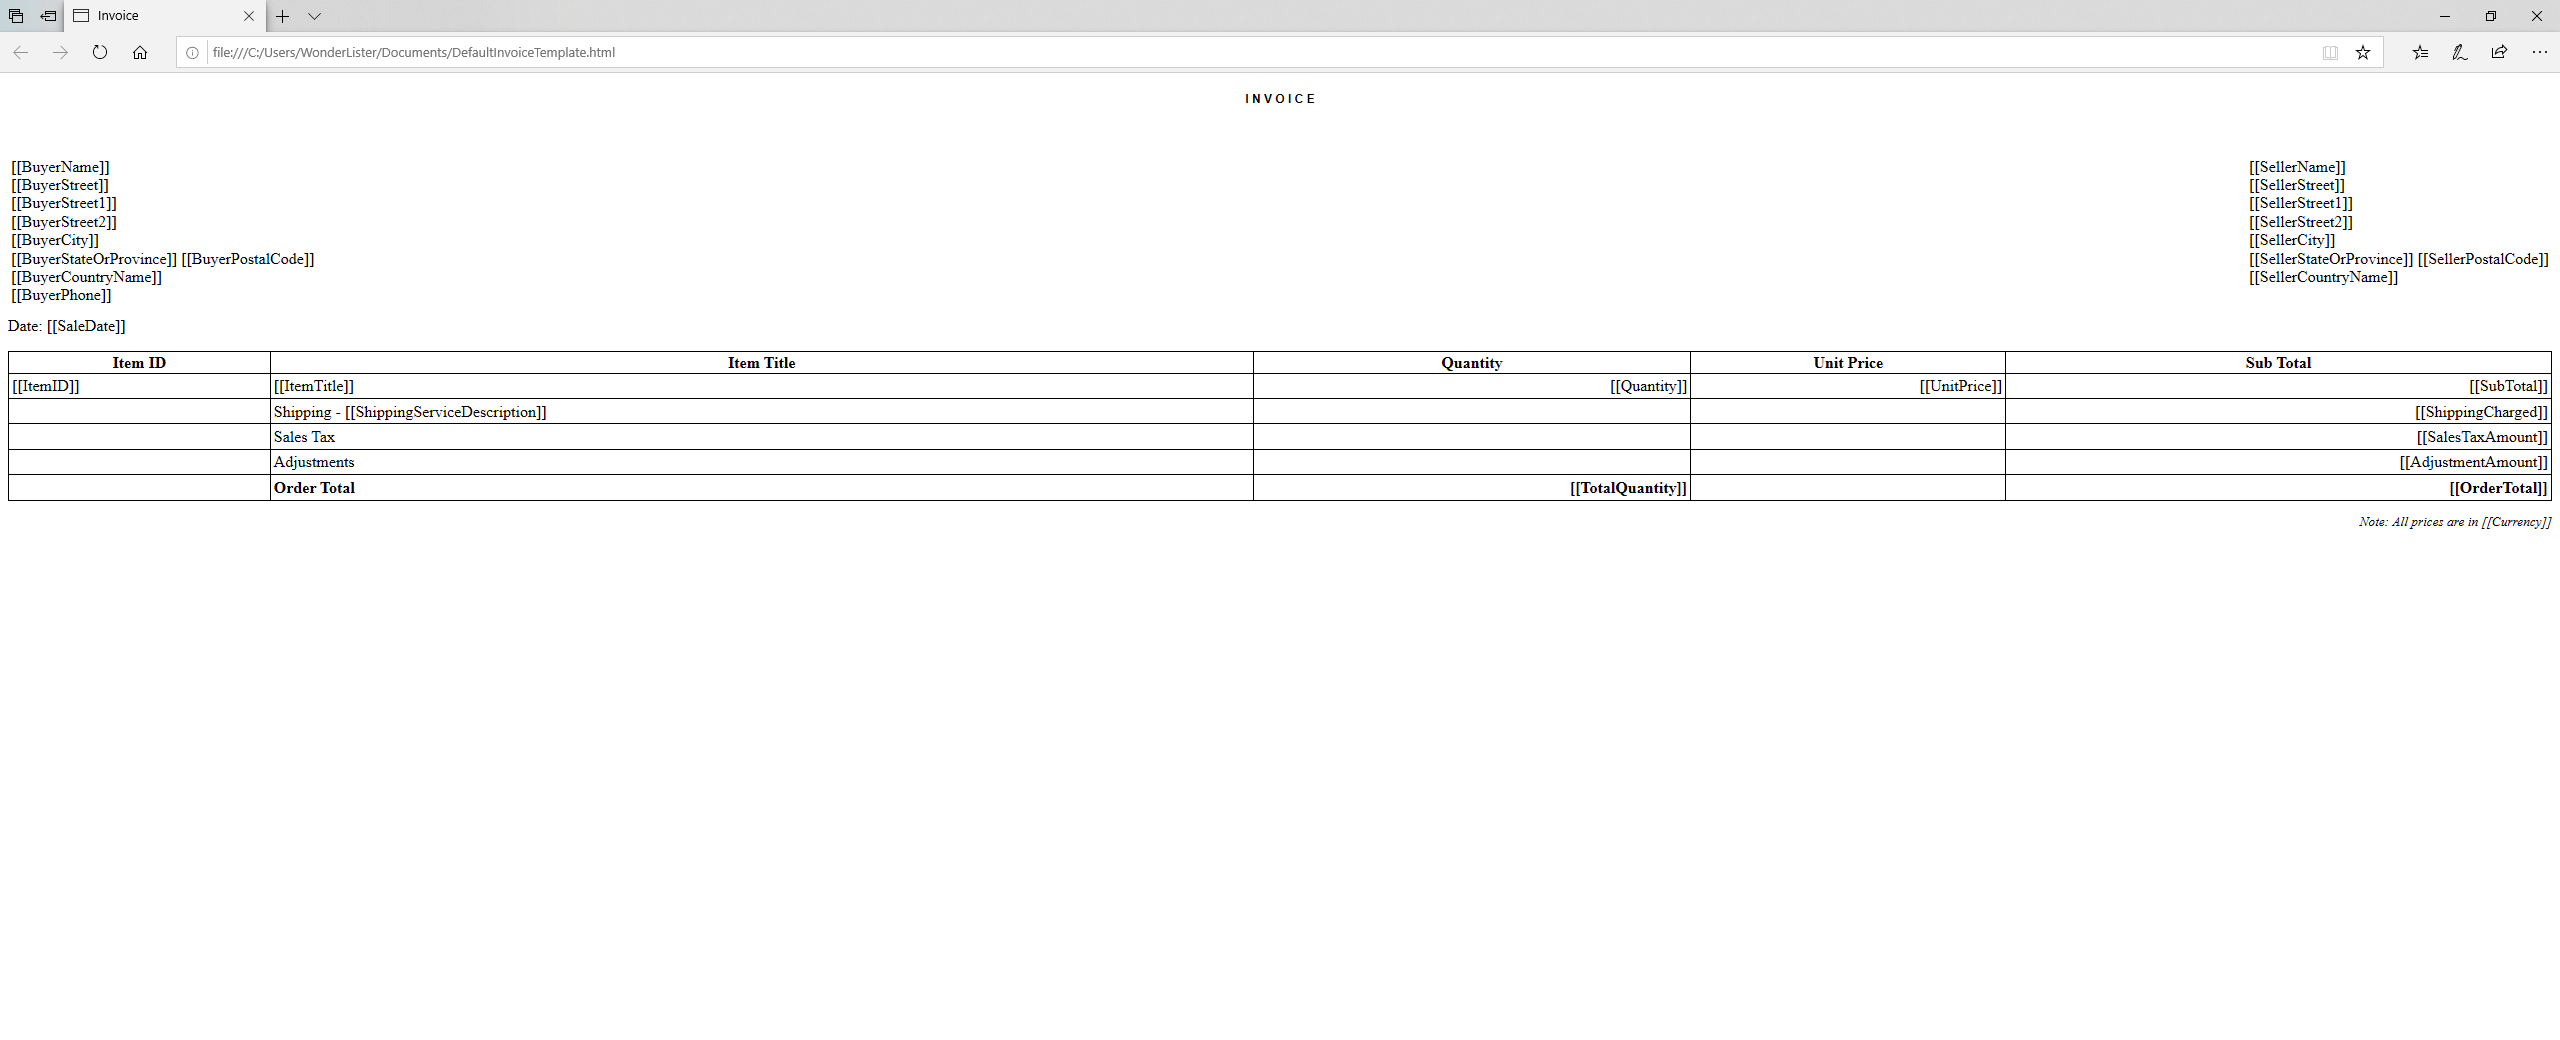
This is how it will look like in your browser:
As you can see from the above screen shot, the HTML contains various replaceable tags (starts with [[ and ends with ]]), for example [[ItemID]] means replace eBay's Item ID of the associated listing.
The first row in the table is repeated once for each sale transaction (if this is an order containing multiple transactions).
Most tags are self explanatory as indicated by their names. Many other tags are available which you can include in your own template.
The table below explains the meaning of each system provided tag. You can create your own tags as well and use that in the template.
|
Tag name
|
Explanation
|
|
AdjustmentAmount
|
Any adjustments done to the sale
|
|
BuyerCity
|
City of the buyer
|
|
BuyerCountryName
|
Country name of the buyer
|
|
BuyerName
|
Name of the buyer
|
|
BuyerPhone
|
Phone number of the buyer
|
|
BuyerPostalCode
|
Postal code (also called zip code) of the buyer
|
|
BuyerStateOrProvince
|
Buyer's state
|
|
BuyerStreet
|
Street part of buyer's address
|
|
BuyerStreet1
|
Street1 part of buyer's address
|
|
BuyerStreet2
|
Street2 part of buyer's address
|
|
Currency
|
Currency code of the sale transaction
|
|
ItemID
|
eBay Item ID of the listing associated with the sale transaction
|
|
ItemTitle
|
Title of the listing
|
|
OrderTotal
|
Total order amount
|
|
Picture1 through Picture12
|
Main pictures specified in the listing associated with the sale transaction
|
|
Quantity
|
Quantity sold
|
|
SaleDate
|
Date of sale transaction
|
|
SalesTaxAmount
|
Amount of sales tax
|
|
SellerCity
|
City of the seller
|
|
SellerCountryName
|
Country name of the seller
|
|
SellerName
|
Name of the seller
|
|
SellerPhone
|
Phone number of the seller
|
|
SellerPostalCode
|
Postal code (also called zip code) of the seller
|
|
SellerStateOrProvince
|
Seller's state
|
|
SellerStreet
|
Street part of seller's address
|
|
SellerStreet1
|
Street1 part of seller's address
|
|
SellerStreet2
|
Street2 part of seller's address
|
|
ShippingCharged
|
Shipping amount charged
|
|
ShippingServiceDescription
|
Description of the shipping service
|
|
SubTotal
|
SubTotal of all sales transactions included in the invoice
|
|
TotalQuantity
|
Sum of all quantities of all sales transactions included in the invoice
|
|
UnitPrice
|
Price per unit
|
Example, say you wish to show the first picture for each listing associated with each sale transaction. Since, each sale transaction is a row in the table, so, first you need to add a column to the table. Say we call it "Picture".
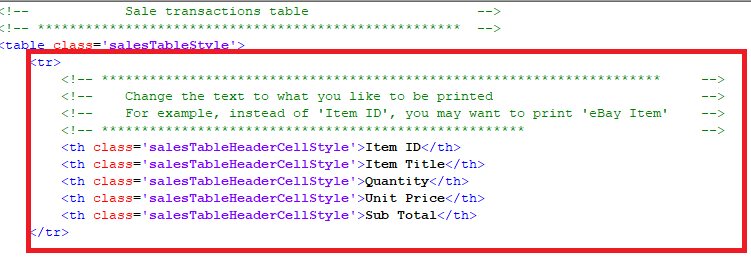
Edit the current HTML:
to
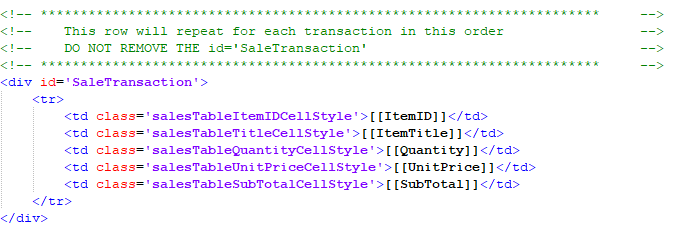
Now we need to add the picture itself to each row in the table.
Original HTML is:
Change it as below:
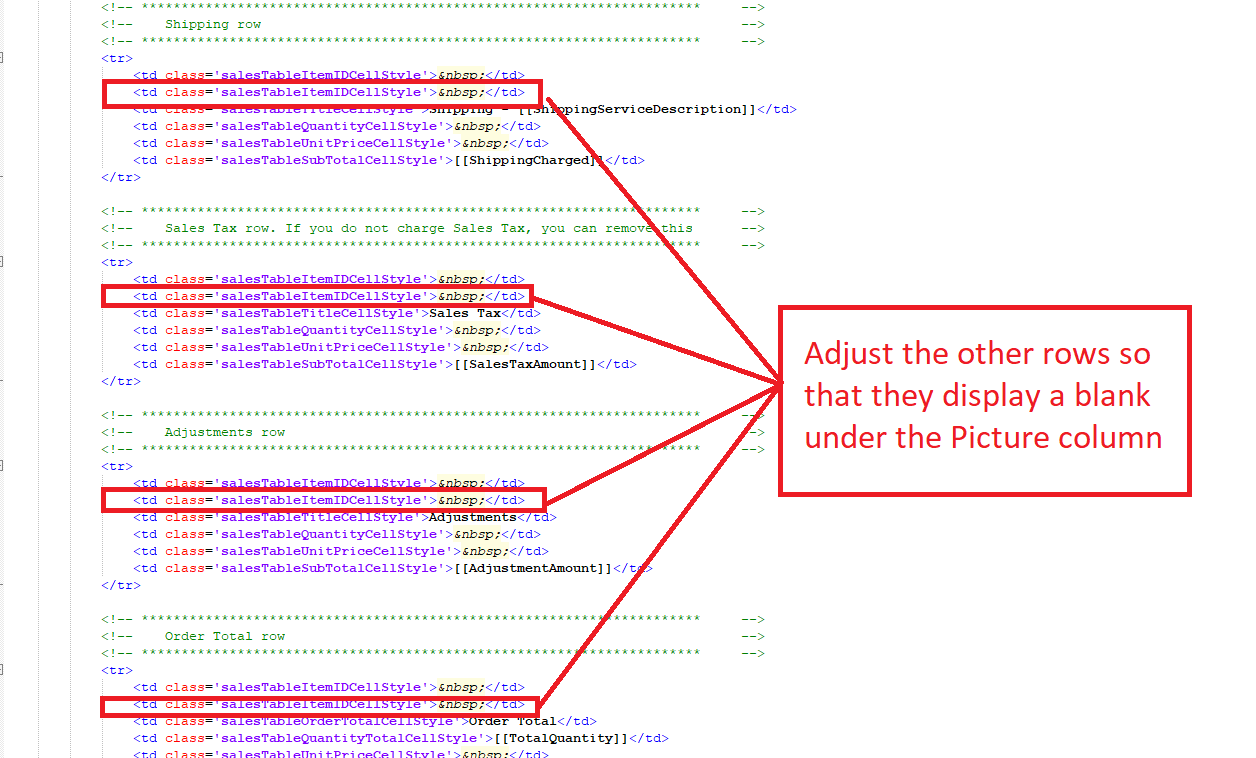
For the non repeating rows (last 4 rows) of the table, add a blank space under the Picture column as pictures are only for transactions.
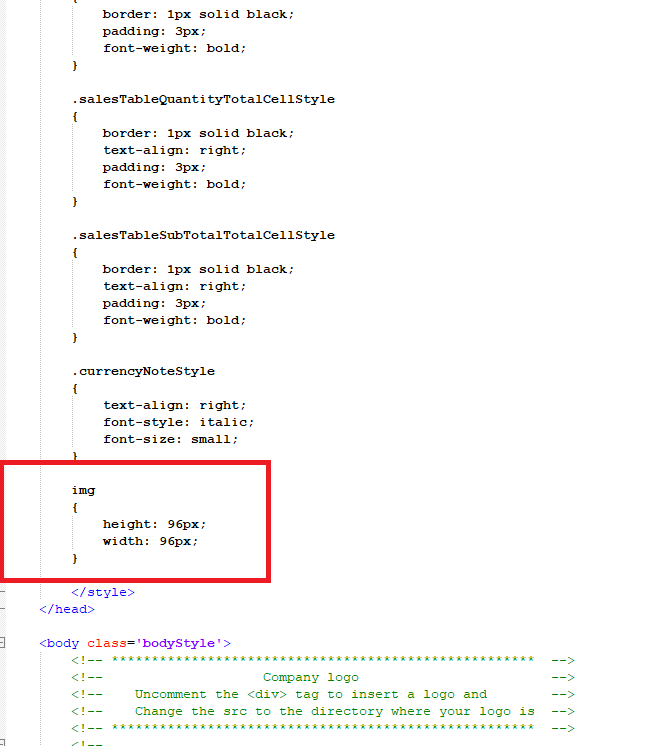
Now, since picture's width and height can be very large, we can restrict the size of the pictures to say 96 pixels. This can be done by adding a CSS class for image tag.
Now, create a new template of your own with the edited HTML.
In the invoice template screen, click on the link "Add new template"
Enter a name for your template
Paste the edited HTML as per steps above into the HTML textbox
If you wish to use this template to print your invoice, check the box "Use this as default for invoice printing".
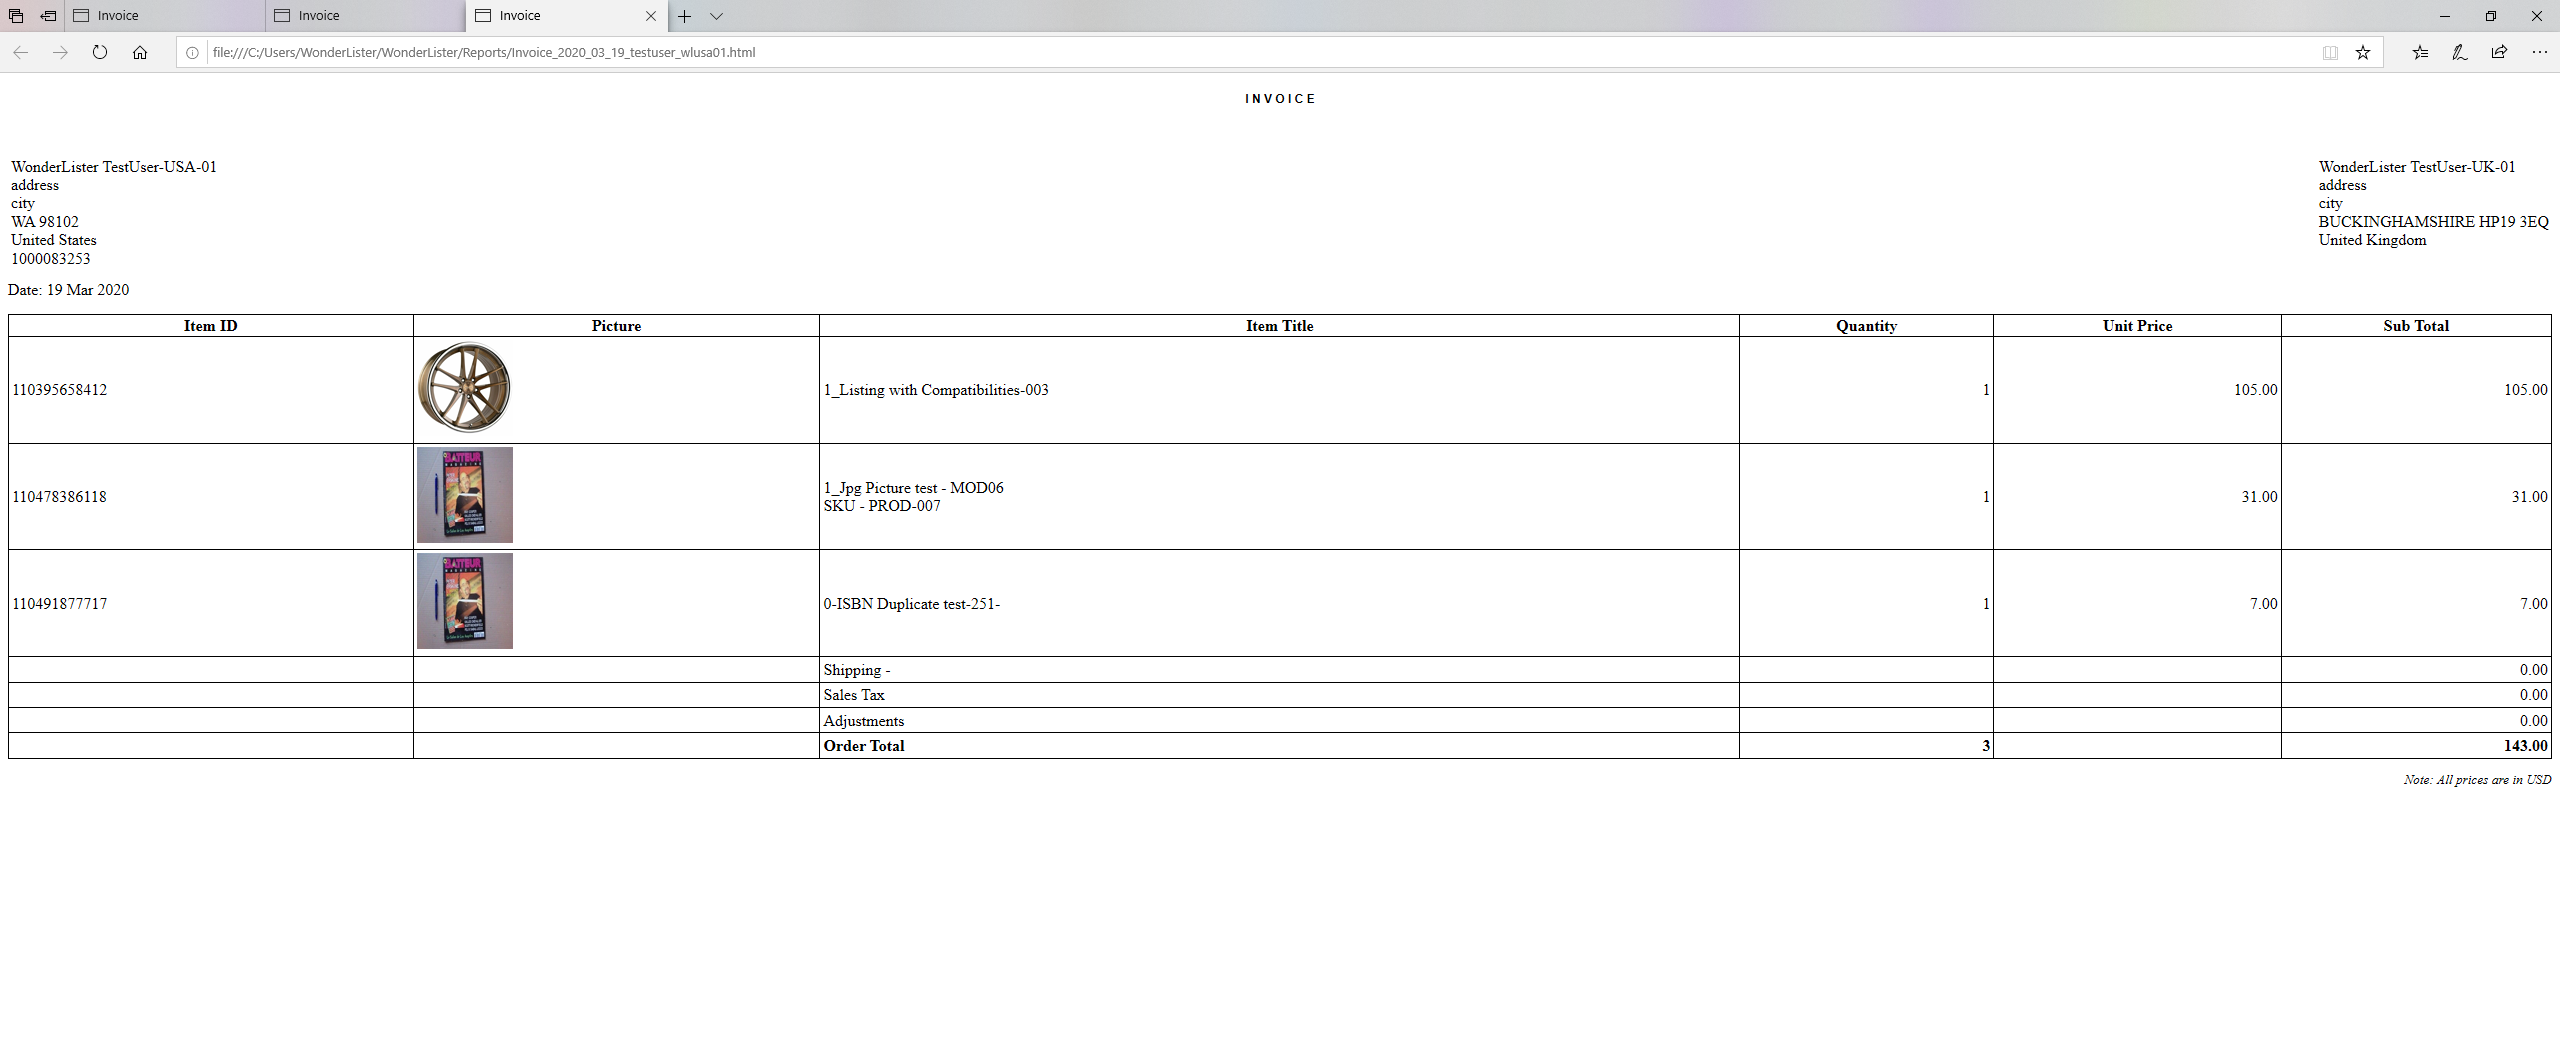
Next time, you generate the invoice, it will look like the following: